Andy's A-Z of a meticulous raised bed project


Railway sleeper raised bed and lawn segregation.
Like many working couples, we have limited time to work on the garden. Many years of neglect resulted in an overgrown border which was encroaching on the lawn. My brief was to create 3 adjoining low maintenance borders and reinstate the lawn edge. Log roll or similar would be quick and easy, but I felt that railway sleepers would provide a longer term solution.
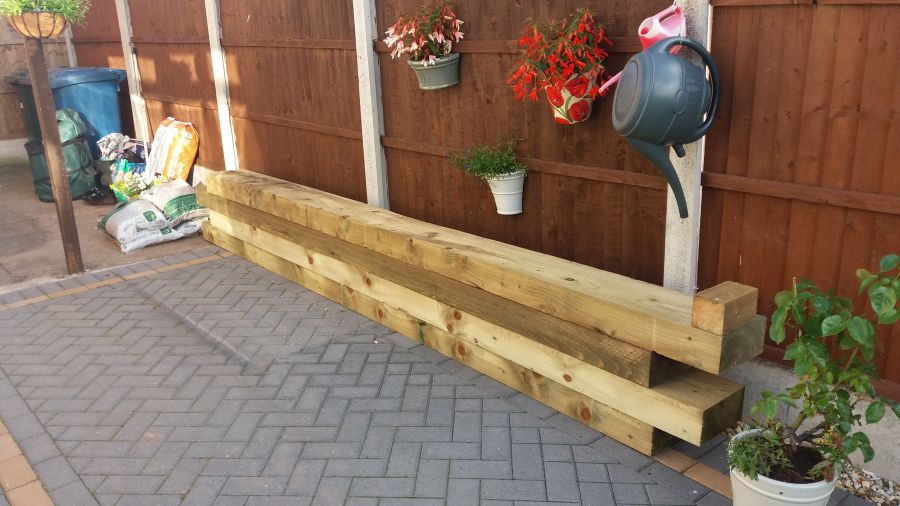
I know Jerry (the owner of railwaysleepers.com) socially and I had no hesitation asking him to supply four 250 x 125 x 3600mm treated pine railway sleepers. Although just a small project, Jerry took a keen interest and offered me some valuable guidance.
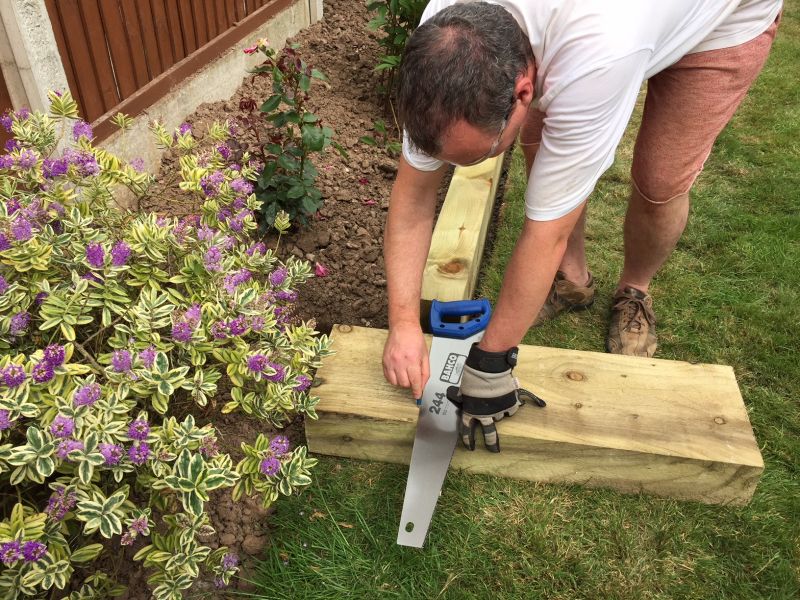
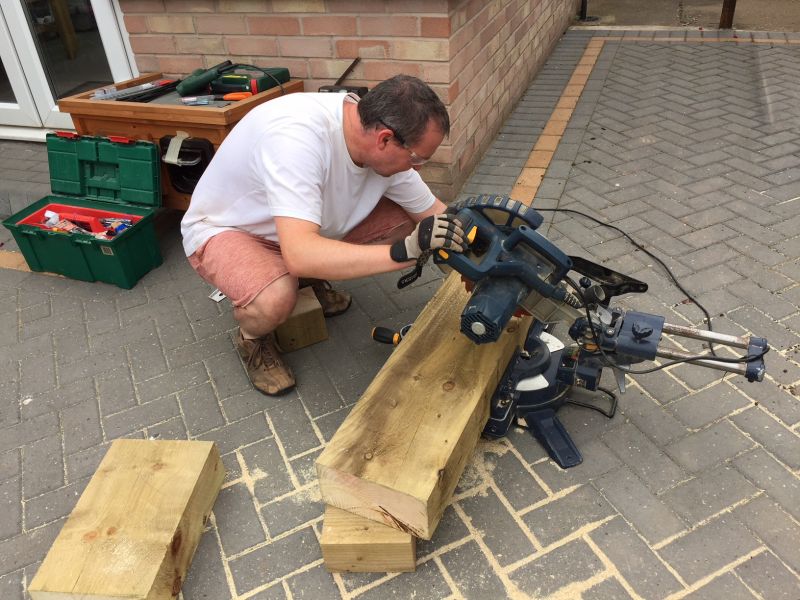
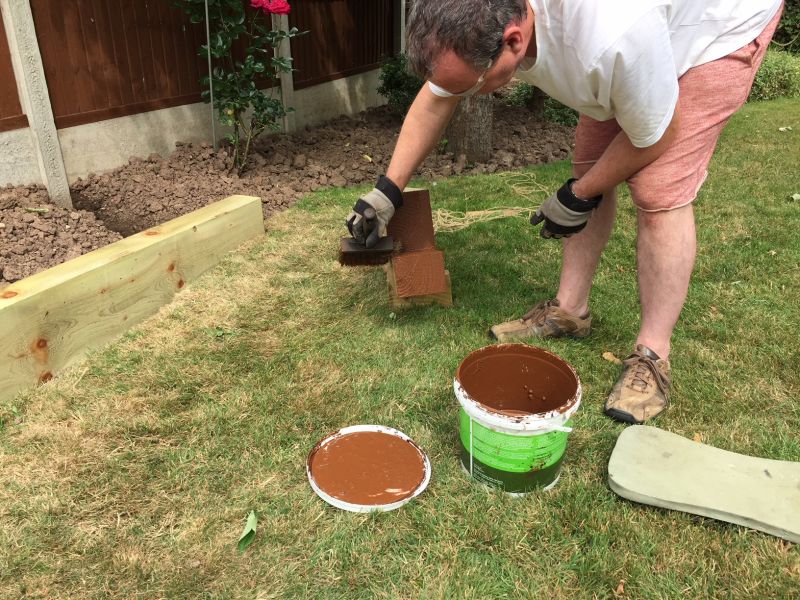
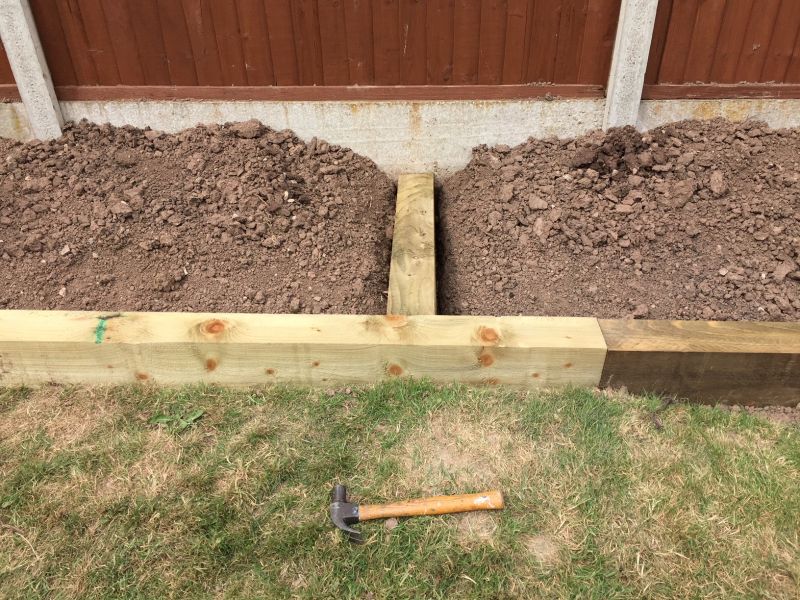
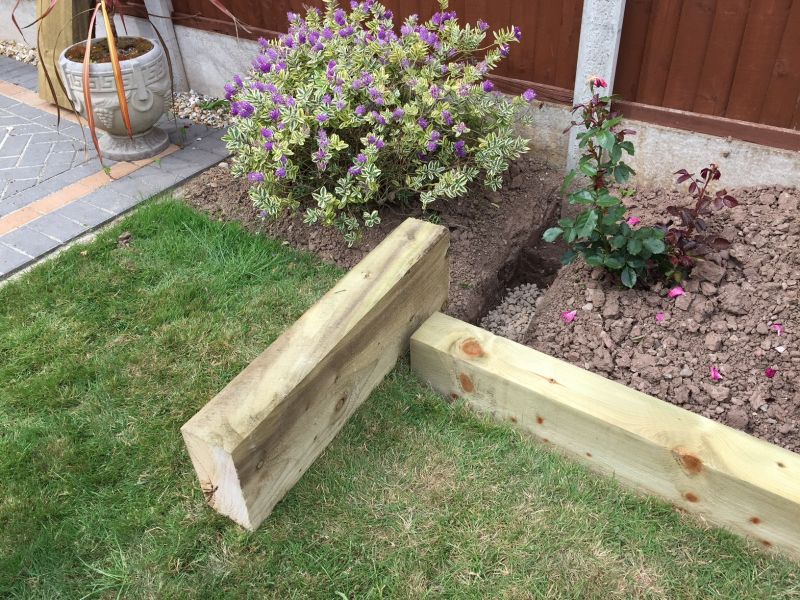
The project started in June 2018 with the clearing of the border. I used a string to mark out a straight line defining a 900mm wide border. (Any wider might make it difficult to reach plants). Next I dug out a 250mm wide 300mm deep trench and lined it with pea gravel for drainage. The first two railway sleepers were positioned and a further two measured and cut. Cut ends were treated using fence paint. I had the use of a mechanical saw but it is possible to manually cut pine railway sleepers with a good hand saw and a strong arm.
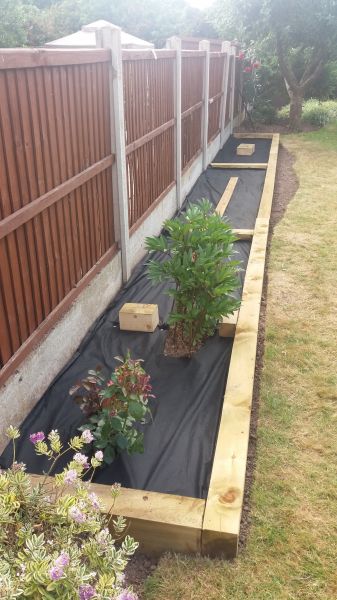
Fine adjustment was achieved by using the pea gravel as support until the railway sleepers were level and aligned. Railway sleepers were joined using 8” Timberlok railway sleeper fixings. Surplus spoil was then used to backfill around the railway sleepers. Surplus soil internal to the bed had to be exported around the garden to leave a 200mm clearance to the top of the railway sleeper. Double thickness weed blanket was positioned and secured to the railway sleepers using a staple gun.
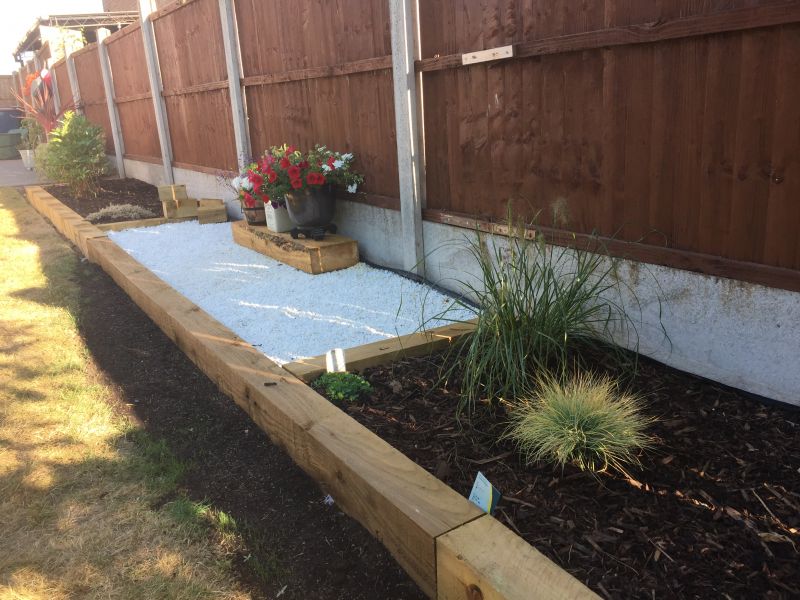
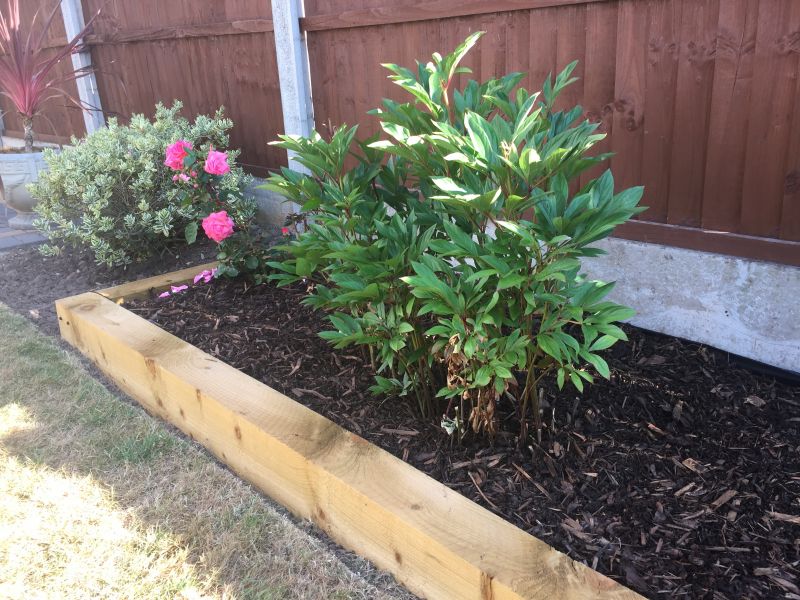
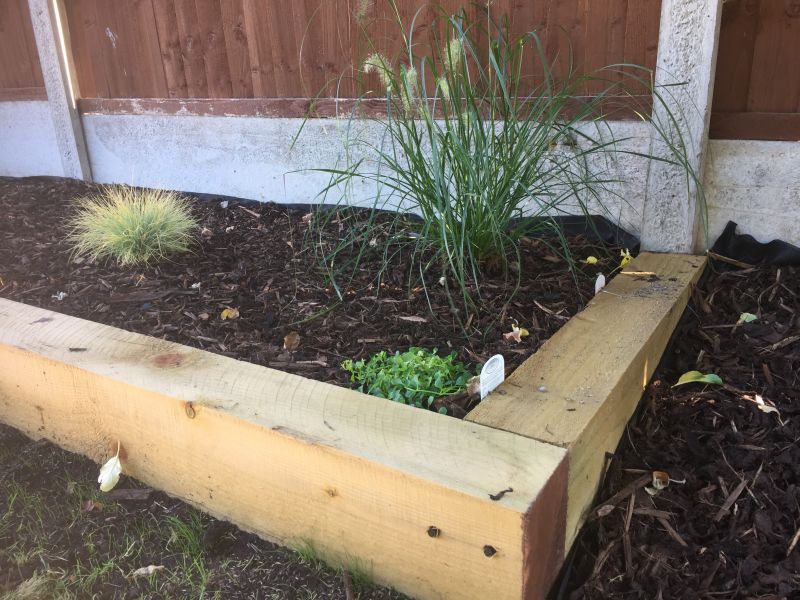
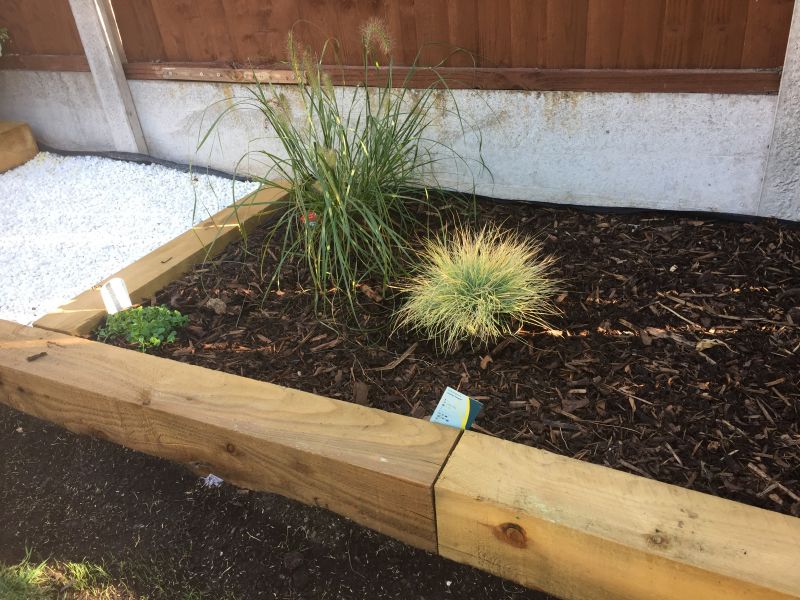
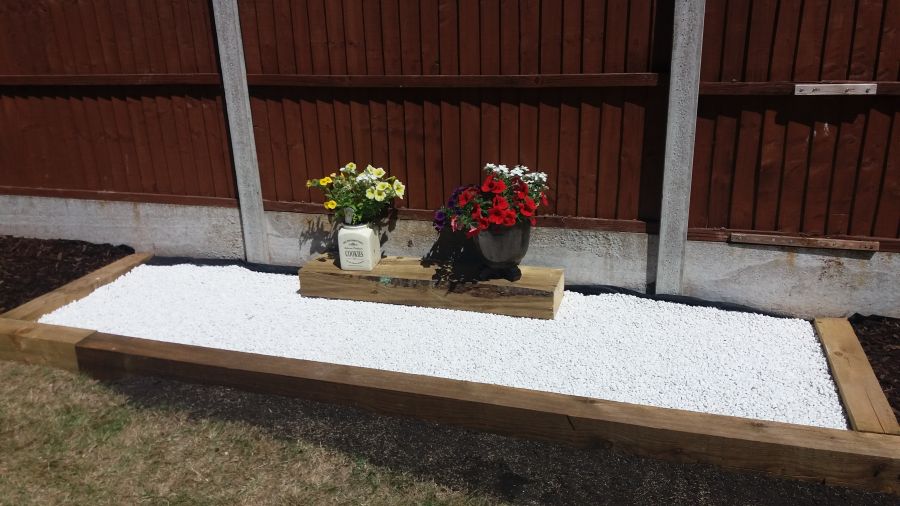
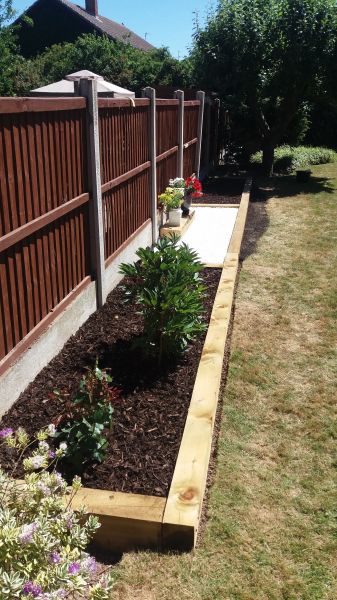
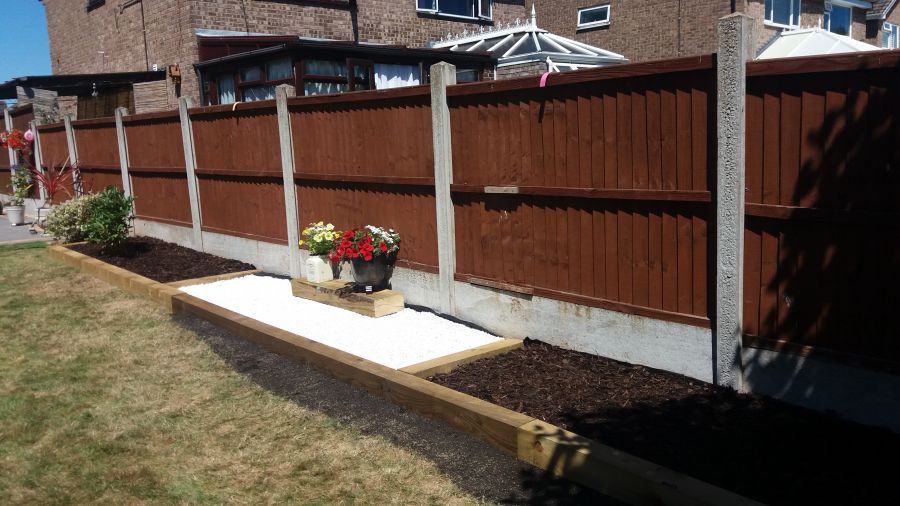
Thoughts now turned to final usage? Both pots and planting have their pros and cons so I settled on a combination of the two. I used wood bark in the outside beds for planting and contrasting white stone in the central bed for pots and tubs.
Planting in the outer raised beds began with tall plants at the back (such as grasses) progressing down to spreading plants at the front which will soften the railway sleeper edges once grown. While planting is far from complete I think the pictures show the potential. The possibilities for the middle bed are endless. Half whiskey barrels, posts for hanging baskets bird feeders, bird bath, garden clock, solar lighting….the list is endless and I am yet to decide?
Finally I used top soil and grass seed to reinstate the lawn up to the sleepers. The fleece blanket was to protect the seed from the birds. The project has taken me about 45 man hours. I am happy with the results and feel I have fully satisfied my brief. I believe the outer raised beds will get better as they mature and I can have some fun with pots and tubs in the central bed. Hopefully many hours of weeding saved in the future!
Anyone can do such a project. I recommend toe protection, suitable gloves and a friend to help with lifting.
Andy, Karen & Gracie
Cropwell Bishop
Nottinghamshire
RAILWAY SLEEPERS USED
4 no. 3.6m x 250mm x 125mm new eco friendly British pine railway sleepers.
RailwaySleepers.com Says..
Many thanks for the detailed and helpful description of your project, supported by a fine collection of photos. It's impressive to see the thought and planning that has gone into your railway sleeper raised beds, and the transformation that has taken place. I enjoyed playing a very small part in the final outcome, and seeing the focus and pleasure it has given you. It will be exciting to see the raised beds develop and grow in the coming years.